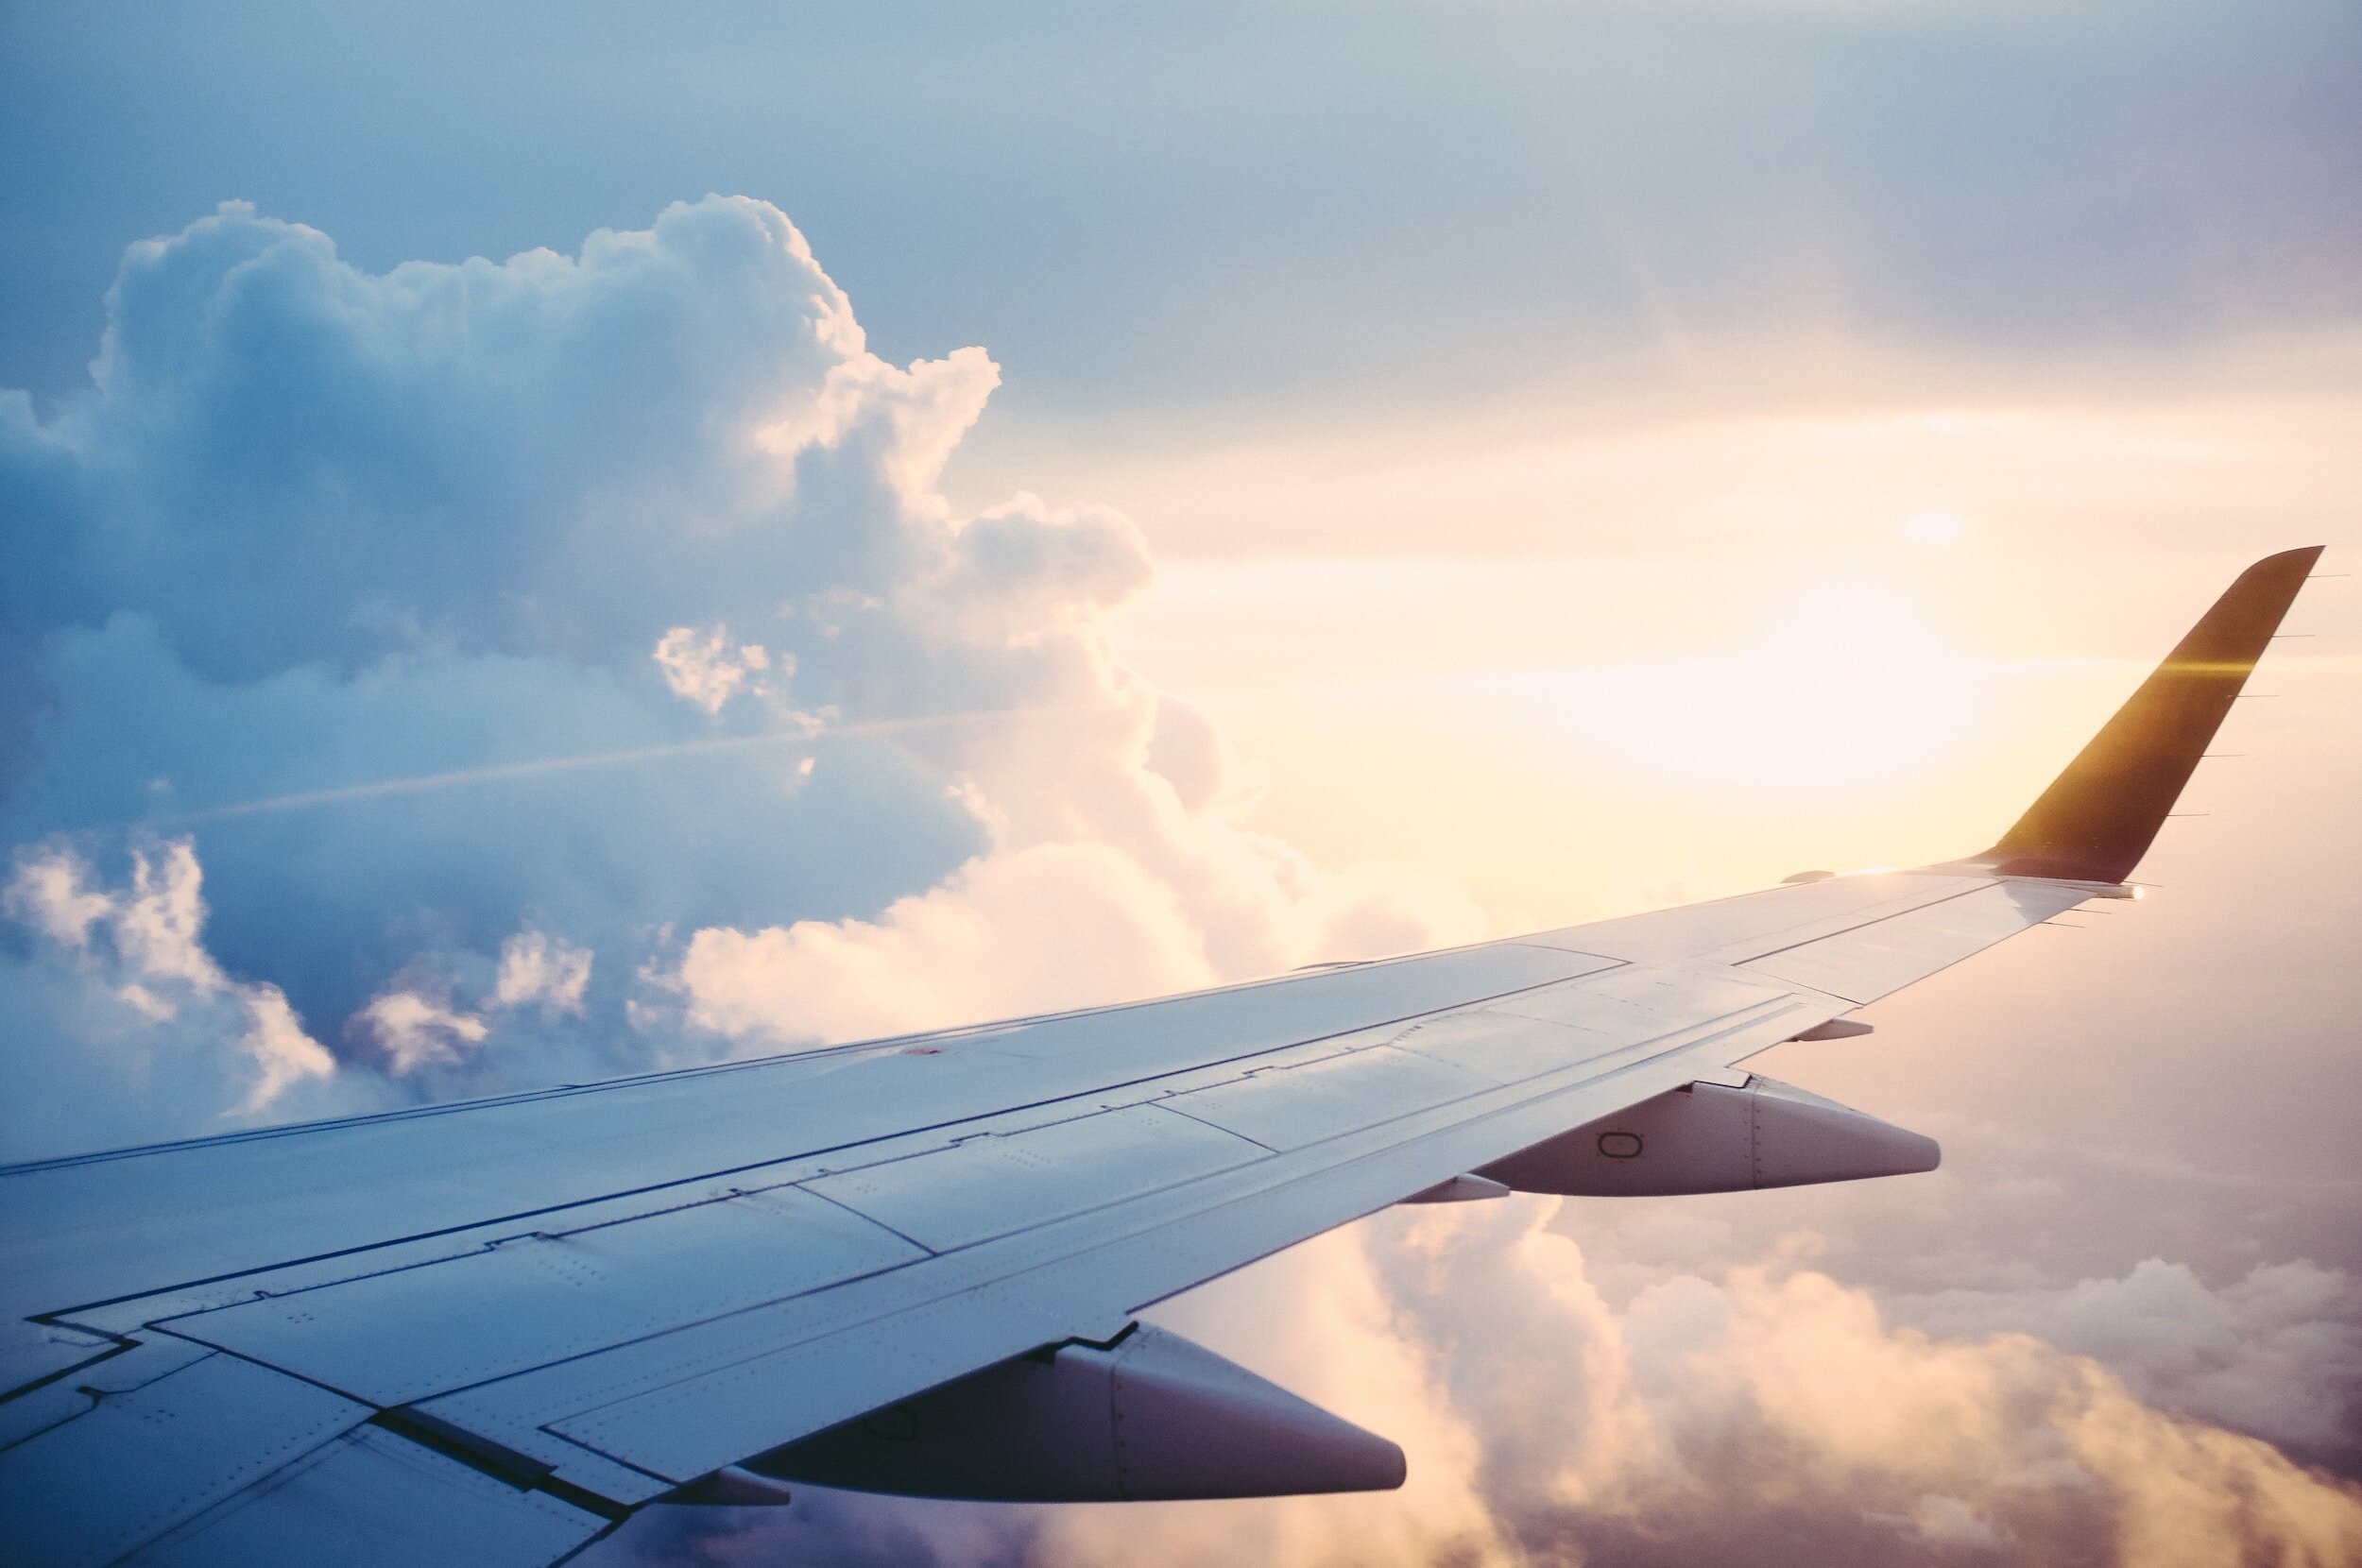
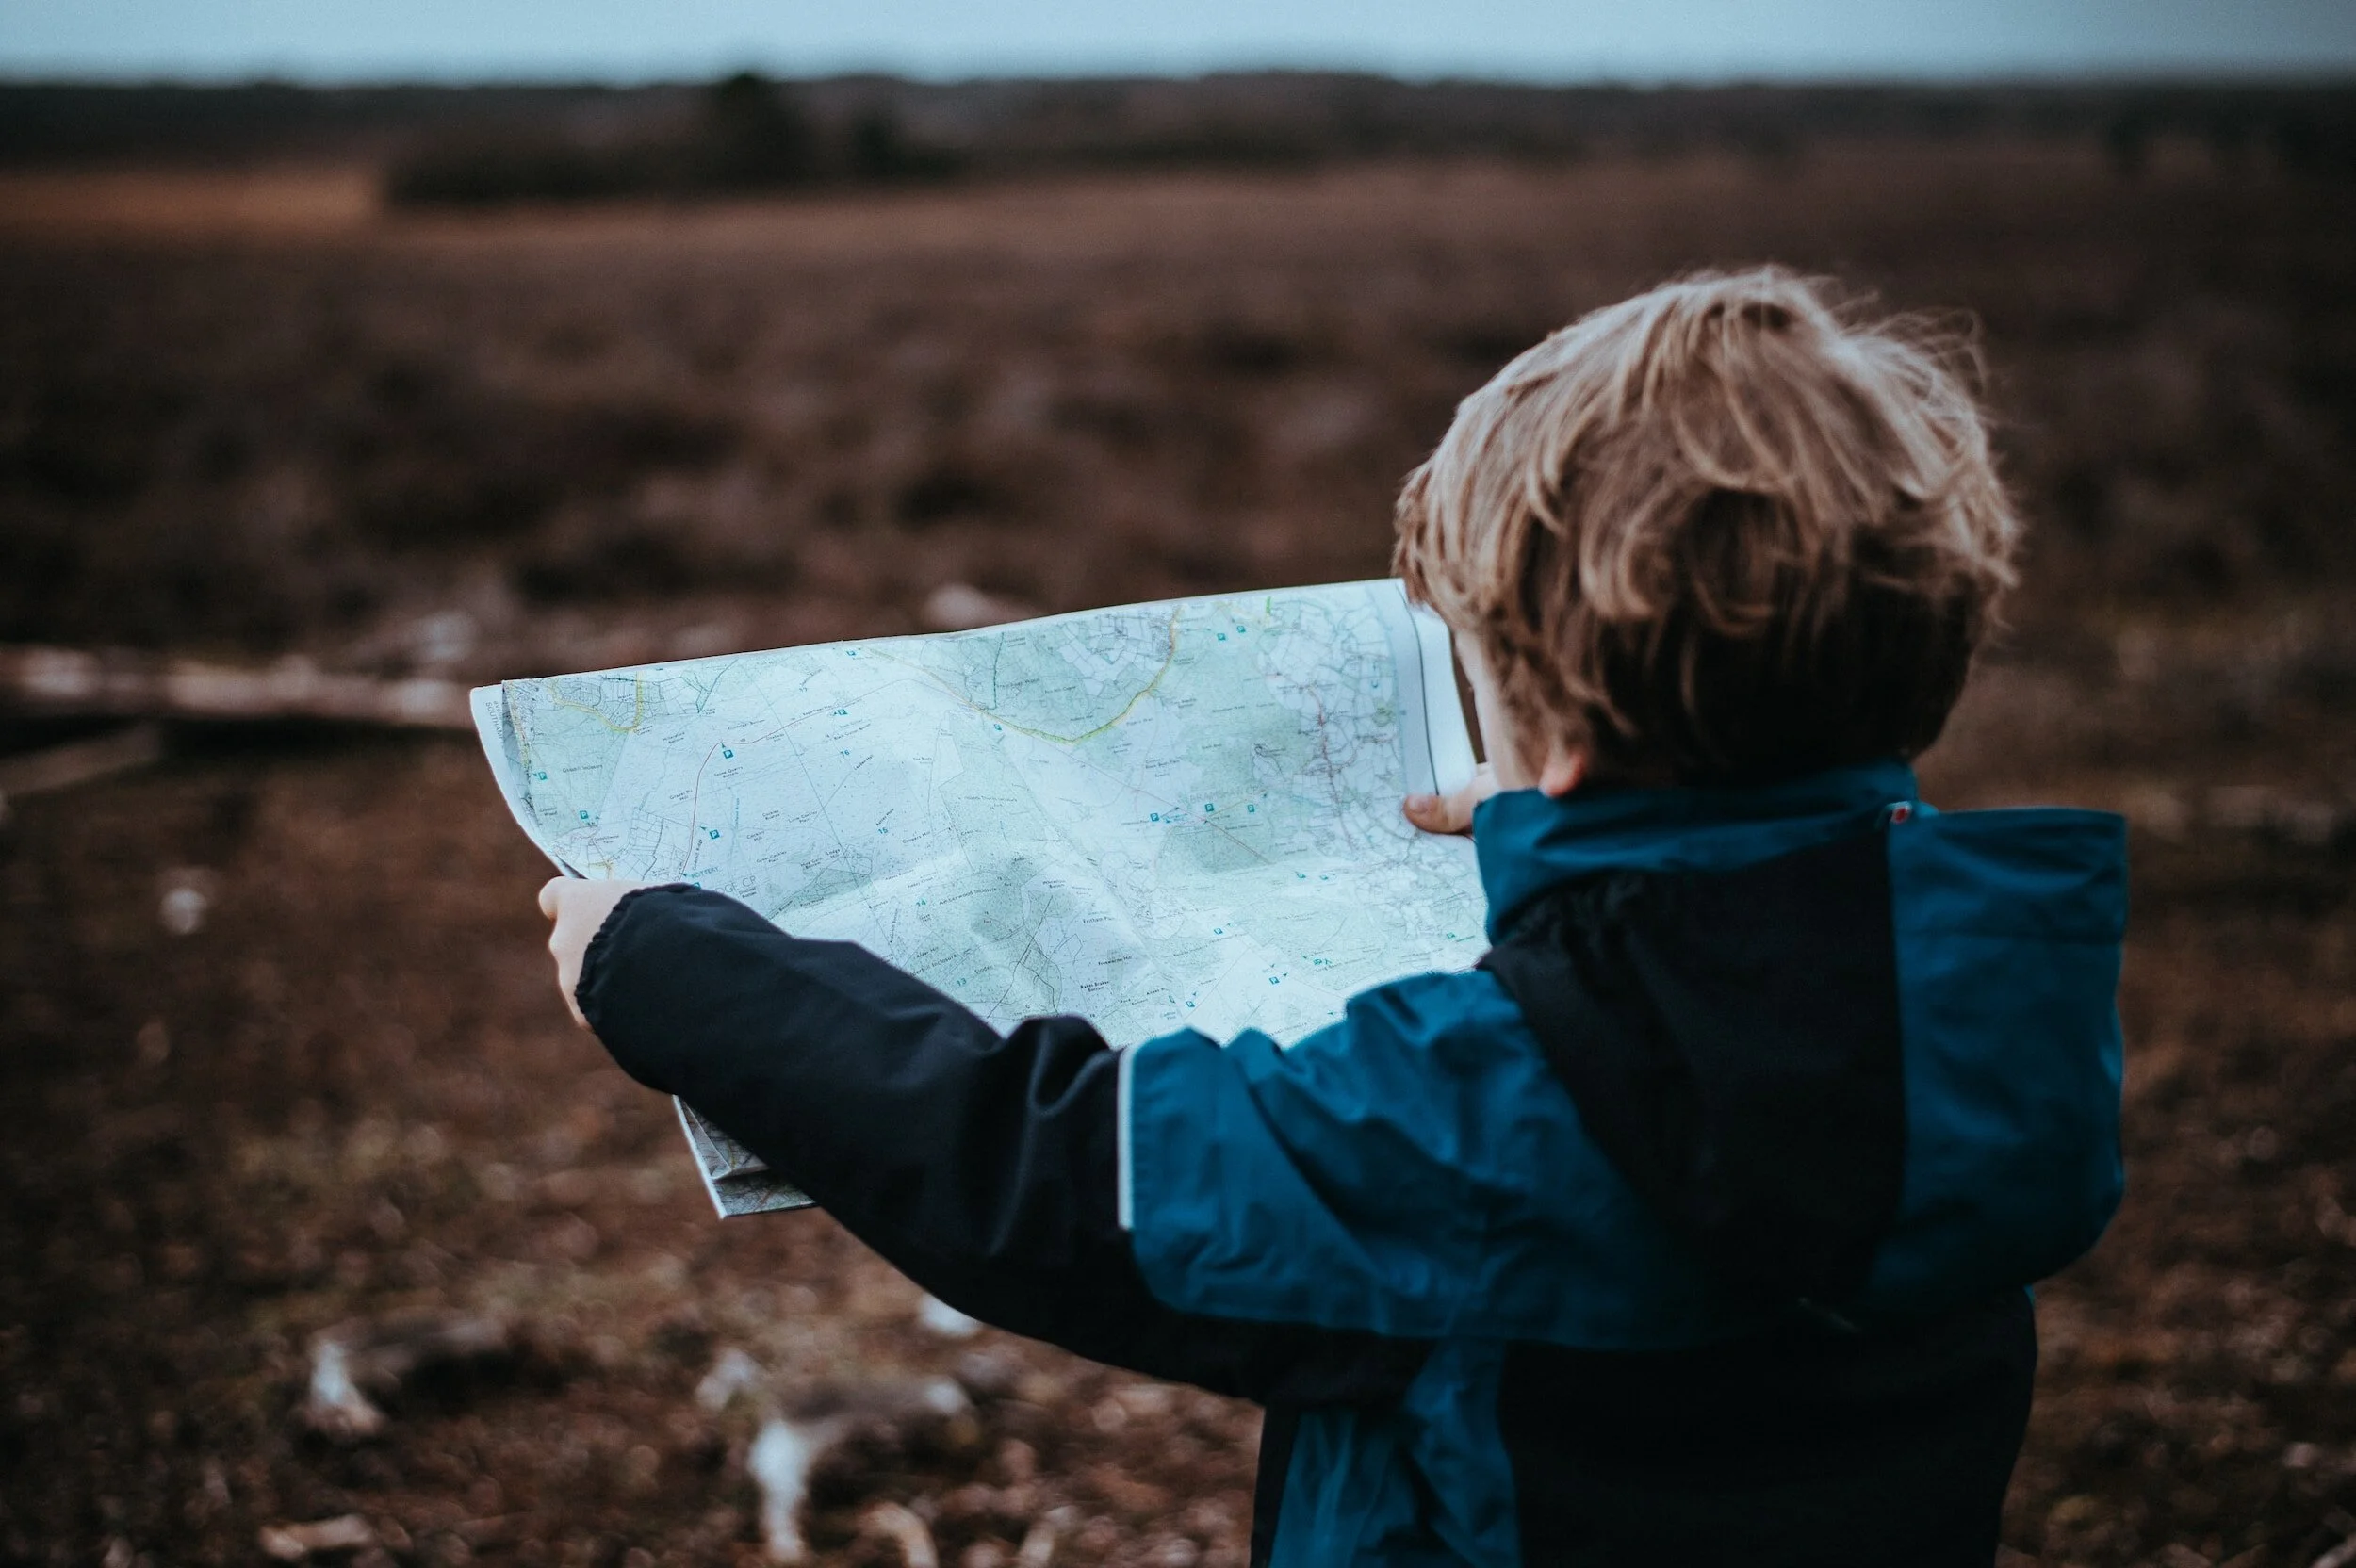
How to Travel with Carry-On Luggage Only
Manchester Family Photographer on how to travel for any trip with hand luggage only! Written after a 6.5 week trip with a toddler.

You asked for it, and it’s here!
When I mentioned on my Instagram Stories that we only took carry-on bags on our six week (was supposed to be a little over two months) adventure, I had so many messages asking “HOW?!”.
Here is how!
But first, why. In November - December 2022, we did a multi-stop trip around Belgium. Brussels - Ghent - Brugges. Between the three of us (my mom came too but had her own luggage), we took a very large wheeled suitcase, a small wheeled suitcase and 2 x Fjallraven backpacks. This was for me, my husband and our daughter, Marnie, who was 22 months old at the time.
Belgium is a really difficult place to travel around on public transport with wheeled bags and a toddler. The train stations often didn’t have lifts, there were huge staircases, no one to assist (unless pre-booked some time in advance) and the trains were very high off the ground and far away from the platform edge. Cue absolute nightmare lugging around all our stuff and a toddler!
We found the travelling parts of the trip extremely stressful and exhausting. On the last night of our holiday, Mark and I sat discussing the trip over a drink, thinking of all the ways we could make moving around easier for our big 2023 travels.
We thought of loads of little ideas, which I’ll include below, but the biggest one of all was “well, why don’t we try carry-on only?”. Neither of us were convinced we could manage it given we struggled with a HUGE suitcase plus a carry-on suitcase and our small backpacks for only one week in Belgium.
The next four weeks were spent preparing, shopping and packing (and re-packing!). And all our hard work paid off as it was so easy to travel around and saved us so much time and effort across the whole trip. So, to help you avoid weeks of research, stressing and deliberating, I wanted to share how we managed it.
HOW?!
My Instagram reel summarises my top tips for travelling carry-on only. This blog post gives you more detail on each point, and I hope it really helps you - whether you’re staycationing for a long weekend or going on a multi-stop trip across the world.
ONE. THE RIGHT BAG.
After the trouble with all the staircases and wheeled suitcases in Belgium, we wanted a backpack ideally. We’re a bit older and a little less fit than when we last went on a backpack trip, so we were nervous about having to always wear a backpack when moving between destinations - and also having to often carry a heavy toddler around.
We spent a lot of time researching case / backpack combinations. Most of them were a suitcase first, backpack second - meaning they were extremely uncomfortable and you could only wear them on your back for a very short time.
Eventually we came across this one. It ticked pretty much every box. It had great reviews on wearability as a backpack and ease of use as a wheeled case, the very biggest size we could fit on the plane as a carry-on, and different compartments. Mark and I bought one each - and it did not disappoint!
I was nervous given the low price point but it was very durable and feels like a more expensive bag.
It will never be as sturdy as a case built solely for being wheeled, or as comfy as a backpack that is made for only wearing. But it did more than a good enough job of both. I’d definitely recommend it.
It has a large main compartment and a separate front section with a laptop holder and different zipped sections. This really helped with organisation of our smaller items.
I’d also suggest attaching a carabiner clip to the top handle of the bag so that when you’re using it as a backpack, you can attach your day backpack to it! Then you’ve got your hands free to wrestle the kid(s)!
We used a significantly smaller duffel style bag (like a small-medium gym bag) for Marnie which was just about the right size. We had everything of hers in there including her toys (see below). Mark wore this cross-body as we travelled - it was small and light enough that it was no problem.
TWO. COMPRESSION PACKING CUBES.
These were probably the best things we bought. We got these. I’ve used packing cubes for years, but the compression ones really make a difference when you’re short on space. They won’t compress your clothes like vacuum packs will, so they won’t crease your clothes any more than they would be in a suitcase anyway - but they help reduce the space just enough.
They also help you stay super organised through your trip. In my bag, I had one for my clothes, one for my underwear, a spare one for my washing, and one for toiletries (which didn’t benefit from the compression obviously). They have handles so you can easily slide them out of your bag too.

THREE. INTERCHANGEABLE OUTFITS.
Ideally, everything needs to go with everything. If you’re away for an extended period, you’ll need to get comfortable with wearing the same clothes over and over again (I know, it’s not easy!). Having interchangeable outfits will help with that. It’ll also help that your tops will go with shorts or trousers so you’re adaptable for the weather.
For the plane I wore wide leg trousers, a casual top, a ¼ zip sweater and my trainers. Then in my case, into tow packing cubes (except the sandals), I packed:
One pair of shorts (I had ordered a second pair that didn’t arrive and actually didn’t end up needing them).
One pair of leggings.
One pair of cosy trousers (they’re like a comfort blanket for me so they were non-negotiable for evenings in a hotel room).
A “nice” top, and two lightweight casual tops.
A loose-fitting, casual mini dress.
One pair of short PJs.
One lightweight jacket (see below for more info).
Two bras and six pairs of knickers and socks.
One bikini.
One pair of sandals.
That’s it.
For Marnie, all her clothes fit into one little packing cube. She had:
Two pairs of leggings.
One long sleeved top, and one tshirt.
One shorts and top set.
One cardigan and one jumper.
Two rompers.
One swimsuit.
One pair of cycling shorts.
One lightweight jacket.
Two vests.
Two pairs of PJs.
I’ll list the rest of the things we packed for her in a separate blog post about travelling with toddlers soon!
FOUR. LIGHTWEIGHT JACKET.
We definitely couldn’t have travelled where we did with only hand luggage if we hadn’t bought these jackets! Game changer.
They fold down into the tiniest package, are super light, and will cover you if it's just the tiniest bit chilly or if it gets quite cold. There is a down version too, but I went for the synthetic version for personal reasons.
Here is the one I bought for Marnie which was basically exactly the same thing. The smallest size they did was 3-4 years, but we rolled up the sleeves loads, and it was actually quite helpful that it went down to her knees!
I’d also highly recommend buying some carabiner clips so you can attach your folded up jacket to the outside of your day backpack. This really helped us.

FIVE. LIMITED TOILETRIES + USE SOLID VERSIONS WHERE POSSIBLE.
This was probably more challenging than clothes! We could only take three bags of liquids in the standard airport-issued size. We bought these bags so that we could prepare in advance and make sure we had the right amount of liquid - and also save the stress of sorting liquids at the airport.
There were a lot of things we managed to get small sizes of - like the tiny sudocrem pot was amazing. And we used solid versions of things where we could - like a deodorant bar (I use one from Lush). And I would opt for more solid toiletries next time. I also wouldn’t bother taking any shampoo, conditioner or body moisturiser next time as every single hotel had it - and if we got stuck, there are always shops!
This was something we had to keep reminding ourselves of when we packed - if, when there, we found we hadn’t got one thing or we needed more of something, we’d be able to buy it. We took a few nappies and just kept buying them as we needed when we were there. It is good to have this in mind throughout the packing process so you don’t keep adding things in “just in case” - essentials only!
SIX. LAUNDRY FACILITIES / TRAVEL WASH.
As we had so few clothes, we needed to do washing quite regularly - especially with an adventurous toddler. We used a mixture of hotel dry cleaning, hand washing and laundrettes (inside hotels and external).
Hotels in the States (and, I’ve found, most places unless you’re in SE Asia) charge an absolute fortune for laundry. So we used it for essentials on occasions only.
We found that quite a few hotels had self-use laundry facilities for guests to use which was so helpful. Some were completely FOC and others had a small charge. We hadn’t considered this before we went and next time I would look out for hotels that had this offering.
Also, take a tube of travel wash. This helped us loads especially in Hawaii where it was plenty warm enough for clothes to dry quickly on the balcony. Super easy!
SEVEN. MICROFIBRE TOWELS.
Bath towels and beach towels can take up a huge portion of your case, right? Not if they’re the microfibre versions! Yes, they’re not as cosy as the real versions, but they barely take up any room (we lay them down the back section on our cases so it was as if they weren’t even there!).
Yes, all the hotels had nice towels but we always like to have bath towels just in case (they either don’t have them or we don’t like the look of them…!). And the hotels near beaches had beach towels to take too, but there were times when we weren’t staying next to the beach but visited a beach on our days out. So these were a great buy. You can find ours here and here.
EIGHT. SYNTHETIC CLOTHING.
This was Mark’s suggestion. I didn’t purchase any but Mark bought several synthetic “base layer” tops to take away with us. Like these. They fold down super small, are great for sweat wicking, are breathable, and dry really quickly if you’re hand washing them (even without hot weather).

NINE. PACK SMART WITH TOYS.
We usually panic pack loads of toys when going anywhere as Marnie has lots of toys at home, so we figure she’ll need lots elsewhere. She barely needed them. She was either busy mooching around a new place, smelling the flowers, practising jumping and generally being in awe of everything like toddlers are, or she was kept entertained for the day by the pool or the beach. She didn’t have much need for toys.
We took a few small toys which we knew would keep her entertained, especially at meal times - and we put these in little drawstring cotton bags which we also use at home. We packed:
Her four Bluey figures in a little drawstring bag.
A selection of some of her favourite duplo pieces and animals in a small cotton bag.
Her drawing pad (greatest thing ever).
A Water Wow book (also absolutely brilliant).
Loads of pages from a sticker book (more lightweight and packable).
Two different paperback books - both topical for our travels (“Oh, The Places You’ll Go” by Dr Seuss and the Twinkl original “All Around The World with Max and Lemon”), plus a tiny Peppa Pig board book.
Her bunny which she sleeps with at night.
Her Amazon Fire tablet, packed with lots of episodes of Bluey, Moana film and the soundtrack and lots of games.
A little octopus fidget popper.
They barely took up any space but kept her entertained when needed!
TEN. PACK AND RE-PACK.
Don’t just squeeze everything into your bags and go. Move things around to get the optimal layout and so you know where everything is. And whilst doing this, assess if you really need each item or if there is a better alternative. I got rid of quite a few items when going back through my bag which, on reflection, were absolutely not essential.
This also helps with the last little tip - leave some room in your bag! If you’re doing a multi-stop trip especially, you’ll be doing little unpacks and re-packs every few days or more. So you need a little wiggle room so that you’re not under pressure to pack absolutely perfectly each time or else you won’t do the zip up. Plus you’re bound to pick up a couple of things along the way!
I hope this helps you and you manage to travel much lighter for any future trips! This really has been an absolute game changer for us and I look forward to future trips where we’re free of oversized and inconvenient luggage!
I’d absolutely love to hear your carry-on packing successes - so please do get in touch and let me know what worked for you!
Thanks so much,
Laura
Manchester Family Photographer.